Limited pre-cleaning is required prior to use. Excess dirt oxidation and moisture should be removed from the targeted surface to extend the coverage area of the product and limit buildup on the microfiber applicator.
LEARN MORE ABOUT THE CLEAN & PROTECT KIT!
Multi Step Kits
Replacement Bottles & Accessories
Your headline
Menu title
This section doesn’t currently include any content. Add content to this section using the sidebar.
$49.00
$49.00
$49.00
$49.00
If you have questions about how best to use your AL-NEW product to clean and restore your outdoor surfaces, please refer to the product instructions on the label or find your product below to review this information.
Feel free to contact us with your questions or feedback, in case you should need additional assistance. You can submit our simple contact form, or you can email our team at inquiry@alnew.com.
Limited pre-cleaning is required prior to use. Excess dirt oxidation and moisture should be removed from the targeted surface to extend the coverage area of the product and limit buildup on the microfiber applicator.
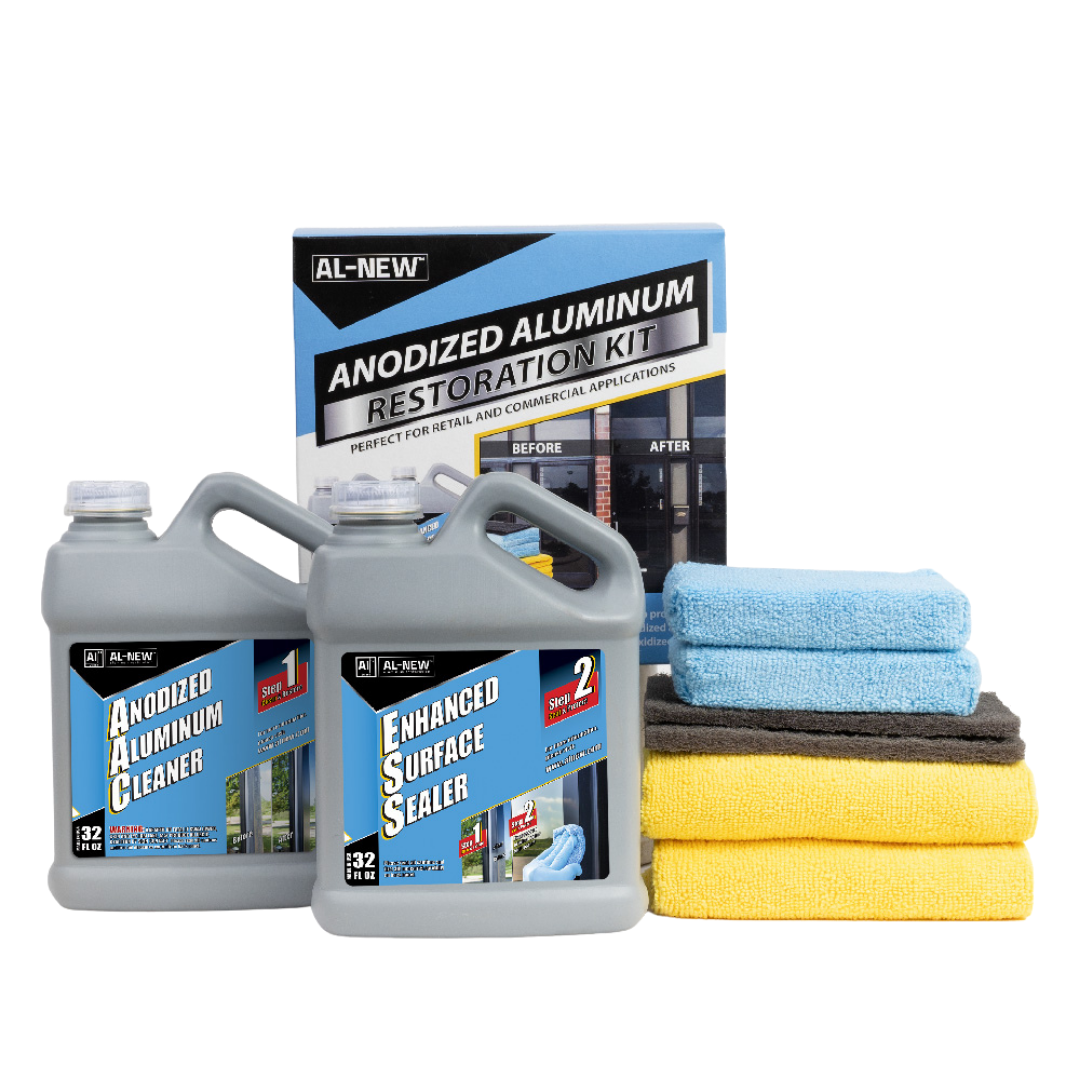
Aluminum Restoration Cleaning Solution is applied with a standard microfiber towel. Wet a section of the microfiber towel with Aluminum Restoration Cleaning Solution at minimum 1 inch in diameter and wipe on the surface to be treated.

Link to video for towel prep: How to Prep your Microfiber Towel
1. Fold (1) of the 14” x 14” microfiber towels 3 times, creating an applicator 7” x 3.5” in size.
2. Wet the folded towel by pouring a few ounces of the AL-NEW Clean in the center (you may want to do this over a paint tray to avoid any spills)
3. Squeeze the towel to distribute the liquid through the layers of the towel
4. You now have an applicator ready to clean your surface
Link to video: How to Apply Step 1 - Clean to a Cast Aluminum Table
1. Wipe the surface with the wet towel (prepared using the instructions above)
2. Apply moderate pressure as you wipe
3. Instant improvement will indicate removal of surface level contamination
4. Re-wet the towel frequently and rotate to clean sections of the towel when needed.
5. For tougher oxidation the walnut hand pad should be used as the next step
Heavy layers of oxidation take years to develop, so a more robust solution is sometimes needed for full cleaning. Often patio tabletops show the most significant levels of white oxidation and need the walnut pad to get them clean.
Link to video: How to Use the Walnut Pad
1. The walnut hand pad is needed when you have heavy oxidation stains embedded in the metal.
2. Use the walnut hand pad for a deeper level of clean not achieved with the microfiber towel alone.
3. Pads should be used on a surface still wet with Step 1 AL-NEW Clean. Test the walnut hand pad in a small area before using on the entire object.
4. Dipping the walnut had pads in Step 1 AL-NEW Clean is a great technique to increase lubricity and improve the effectiveness of cleaning.
5. Agitate the surface with the walnut hand pad using light pressure, which will lift oxidation
6. Follow passes of your walnut pad with a wet microfiber towel to clean off oxidation
7. Continue use of the walnut hand pad until
visible white oxidation has been cleaned
8. Allow the now clean surface to dry.
Dry time is subject to environmental conditions such as direct sun or shade, temperature, and humidity.
Best results with Step 2 Protect are achieved when Step 1 Clean is allowed to fully dry/cure prior to applying Step 2 Protect. This allows areas that may need a second pass of Step 1 Clean with the walnut pad to be revisited, prior to applying the final sealer in Step 2 Protect.
Drying time for Step 1 Clean varies due to many factors including temperature, UV Index, wind, humidity, and metal type and amount of liquid used during the cleaning process.
Best practice is to lightly buff the table with a dry microfiber cloth prior to application of Step 2 Protect.
Once you have the object clean of oxidation, the Step 2 AL-NEW Protect application will be very simple and time efficient and adds to the durability of the treated surface.
Link to video example on a patio table: Patio Table Example Video
Here are a few helpful written tips to supplement the video above to get the best outcome:
1. Sponge should be damp, not saturated (too much liquid could cause a white film when dried)
2. Wet the sponge by pressing it to the open mouth of the bottle and inverting the bottle a few times in a few spots in a row on the edge of the sponge. Squeeze the sponge to wring out extra liquid. See example video at this link How to Use the Blue Microfiber Sponge
3. Goal is to apply a thin coat of AL-NEW Protect (more product is not better here)
4. Use light pressure to apply
5. Slightly overlap your passes to avoid streaks or lap marks
6. On larger surfaces like tabletops or garage doors, use a circular motion with the sponge as you would when waxing a car to ensure the entire area is covered.
7. If streaks do occur, the walnut hand pad in combo with Step 1 Clean can be reused to rework any areas and remove imperfections in the finish coat
8. In direct sun and temperatures above 70F, the AL-NEW Protect will dry to touch within 30 minutes, while the surface will continue to cure for multiple hours
9. A single pass in most cases is all that is needed. A 2nd pass can be applied, layering on top of Pass 1, however care should be taken on smooth surfaces to avoid creating streaks with too much of the Step 2 Protect. We recommend allowing 2 hours of drying time prior to applying a 2nd pass.
Best results with Step 2 Protect are achieved when Step 1 Clean is allowed to fully dry/cure prior to applying Step 2 Protect. This allows areas that may need a second pass of Step 1 Clean with the walnut pad to be revisited, prior to applying the final sealer in Step 2 Protect.
Drying time for Step 1 Clean varies due to many factors including temperature, UV Index, wind, humidity, and metal type and amount of liquid used during the cleaning process.
Best practice is to lightly buff the table with a dry microfiber cloth prior to application of Step 2 Protect.
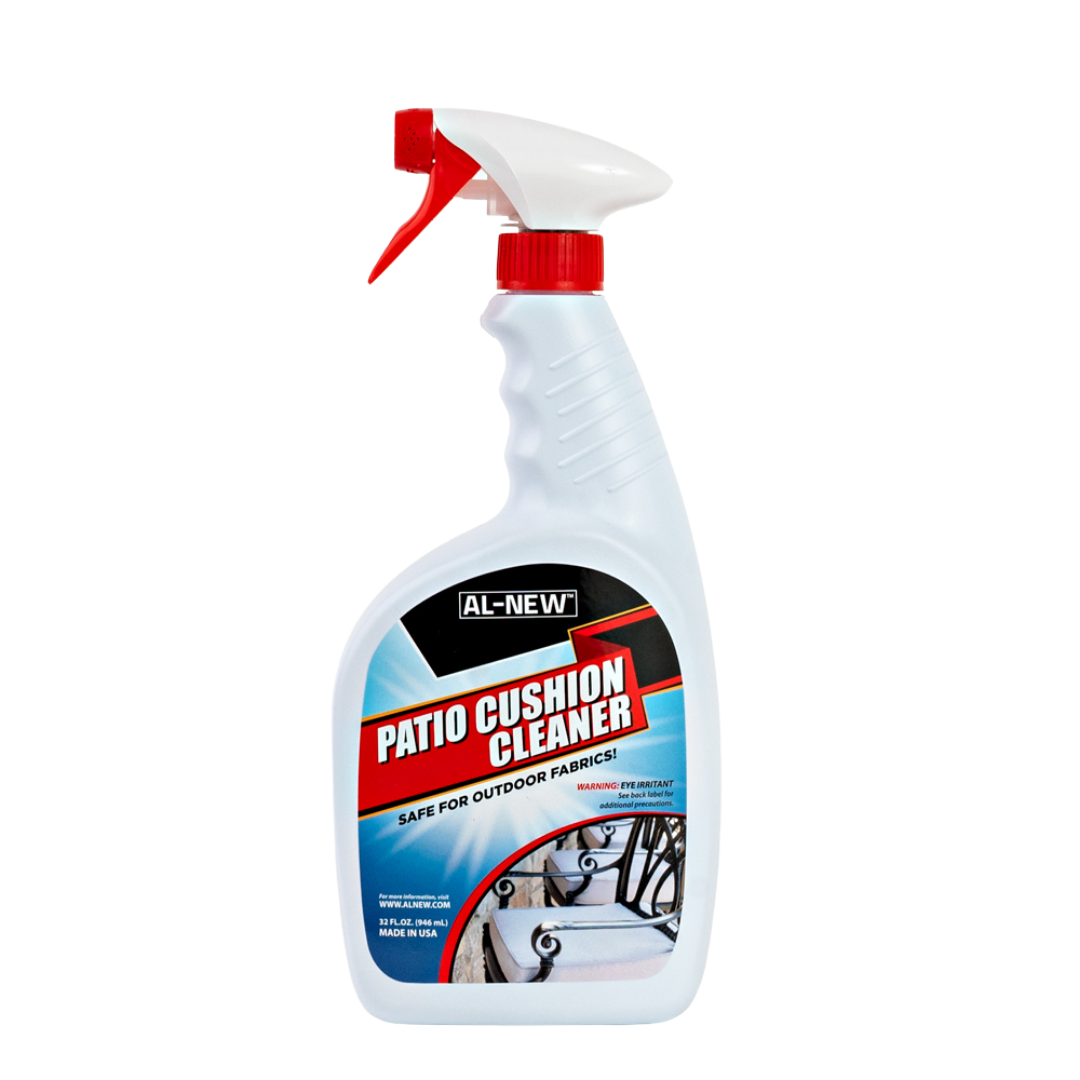
Wet fabric, then spray Cleaner directly to stain and let stand for 30 seconds. To clean large area, spray Cleaner over entire area and allow to penetrate for up to one minute. Stubborn stains may require longer time.
After applying Cleaner, use a soft brush, sponge or cloth, rub product to remove dirt and grime.
Once dirt, grime and stain is loose, rinse surface with water and/or wipe clean.
Always test the product on a small hidden spot on the fabric for colorfastness* prior to use in cleaning.
*If fading occurs to the fabric, do not continue use of the product on your fabric. This means it is incompatible with your fabric. We are happy to provide a refund in this situation. The manufacturer shall not be liable for any consequential damages arising from product use.
Textiles and their manufacturing process are quite varied and complex. Fabrics are tailored for the environment where they will live and the typical stains they might encounter. While indoor fabrics will likely see stains from spills of food/drink or pet stains, an exterior fabric will face a totally different set of challenges. Outdoor fabrics are exposed to the weather including UV, rain, humidity changes, heat and cold. These conditions require a totally different design process than indoor fabrics. Outdoor fabrics are built with a robust range of protections against fading from UV, staining from mold/mildew/dirt, and with water repellency. Typically, these protections allow for a more aggressive cleaner to be used to address the dirt, mold, and mildew that are sure to come if you leave your fabrics out in the elements. Brands like Sunbrella have years of experience in the manufacture of outdoor fabrics. Their years of Research & Development, Manufacturing & Testing have led them to provide a very specific cleaning code for each of their fabrics. These codes tie into industry standards that help you evaluate if you have a fabric that is dry clean only, bleach cleanable, or wet and solvent cleanable. These designations are critical in knowing which cleaning product is right for your fabric.
For this reason, if you know the manufacturer and name of your outdoor fabric, your should look up the cleaning guidance on the manufacturers website. If you don't have that detail available, you should check your fabric for the manufacturer's tag to see if they have specified a proper cleaning method. If neither of these options is available, you should test any cleaning product on a very small spot on the fabric in an inconspicuous area to make sure that it retains its color once the cleaner is used and rinsed off. If your test spot shows any signs of the color changing in the cleaned area, you should not use that cleaner as it is not compatible with your fabric.
Just like cleaning your stained clothing, outdoor fabrics require due diligence to learn about the fabric and the right method for cleaning. Finding the right cleaner for your situation is an important step to not be missed.
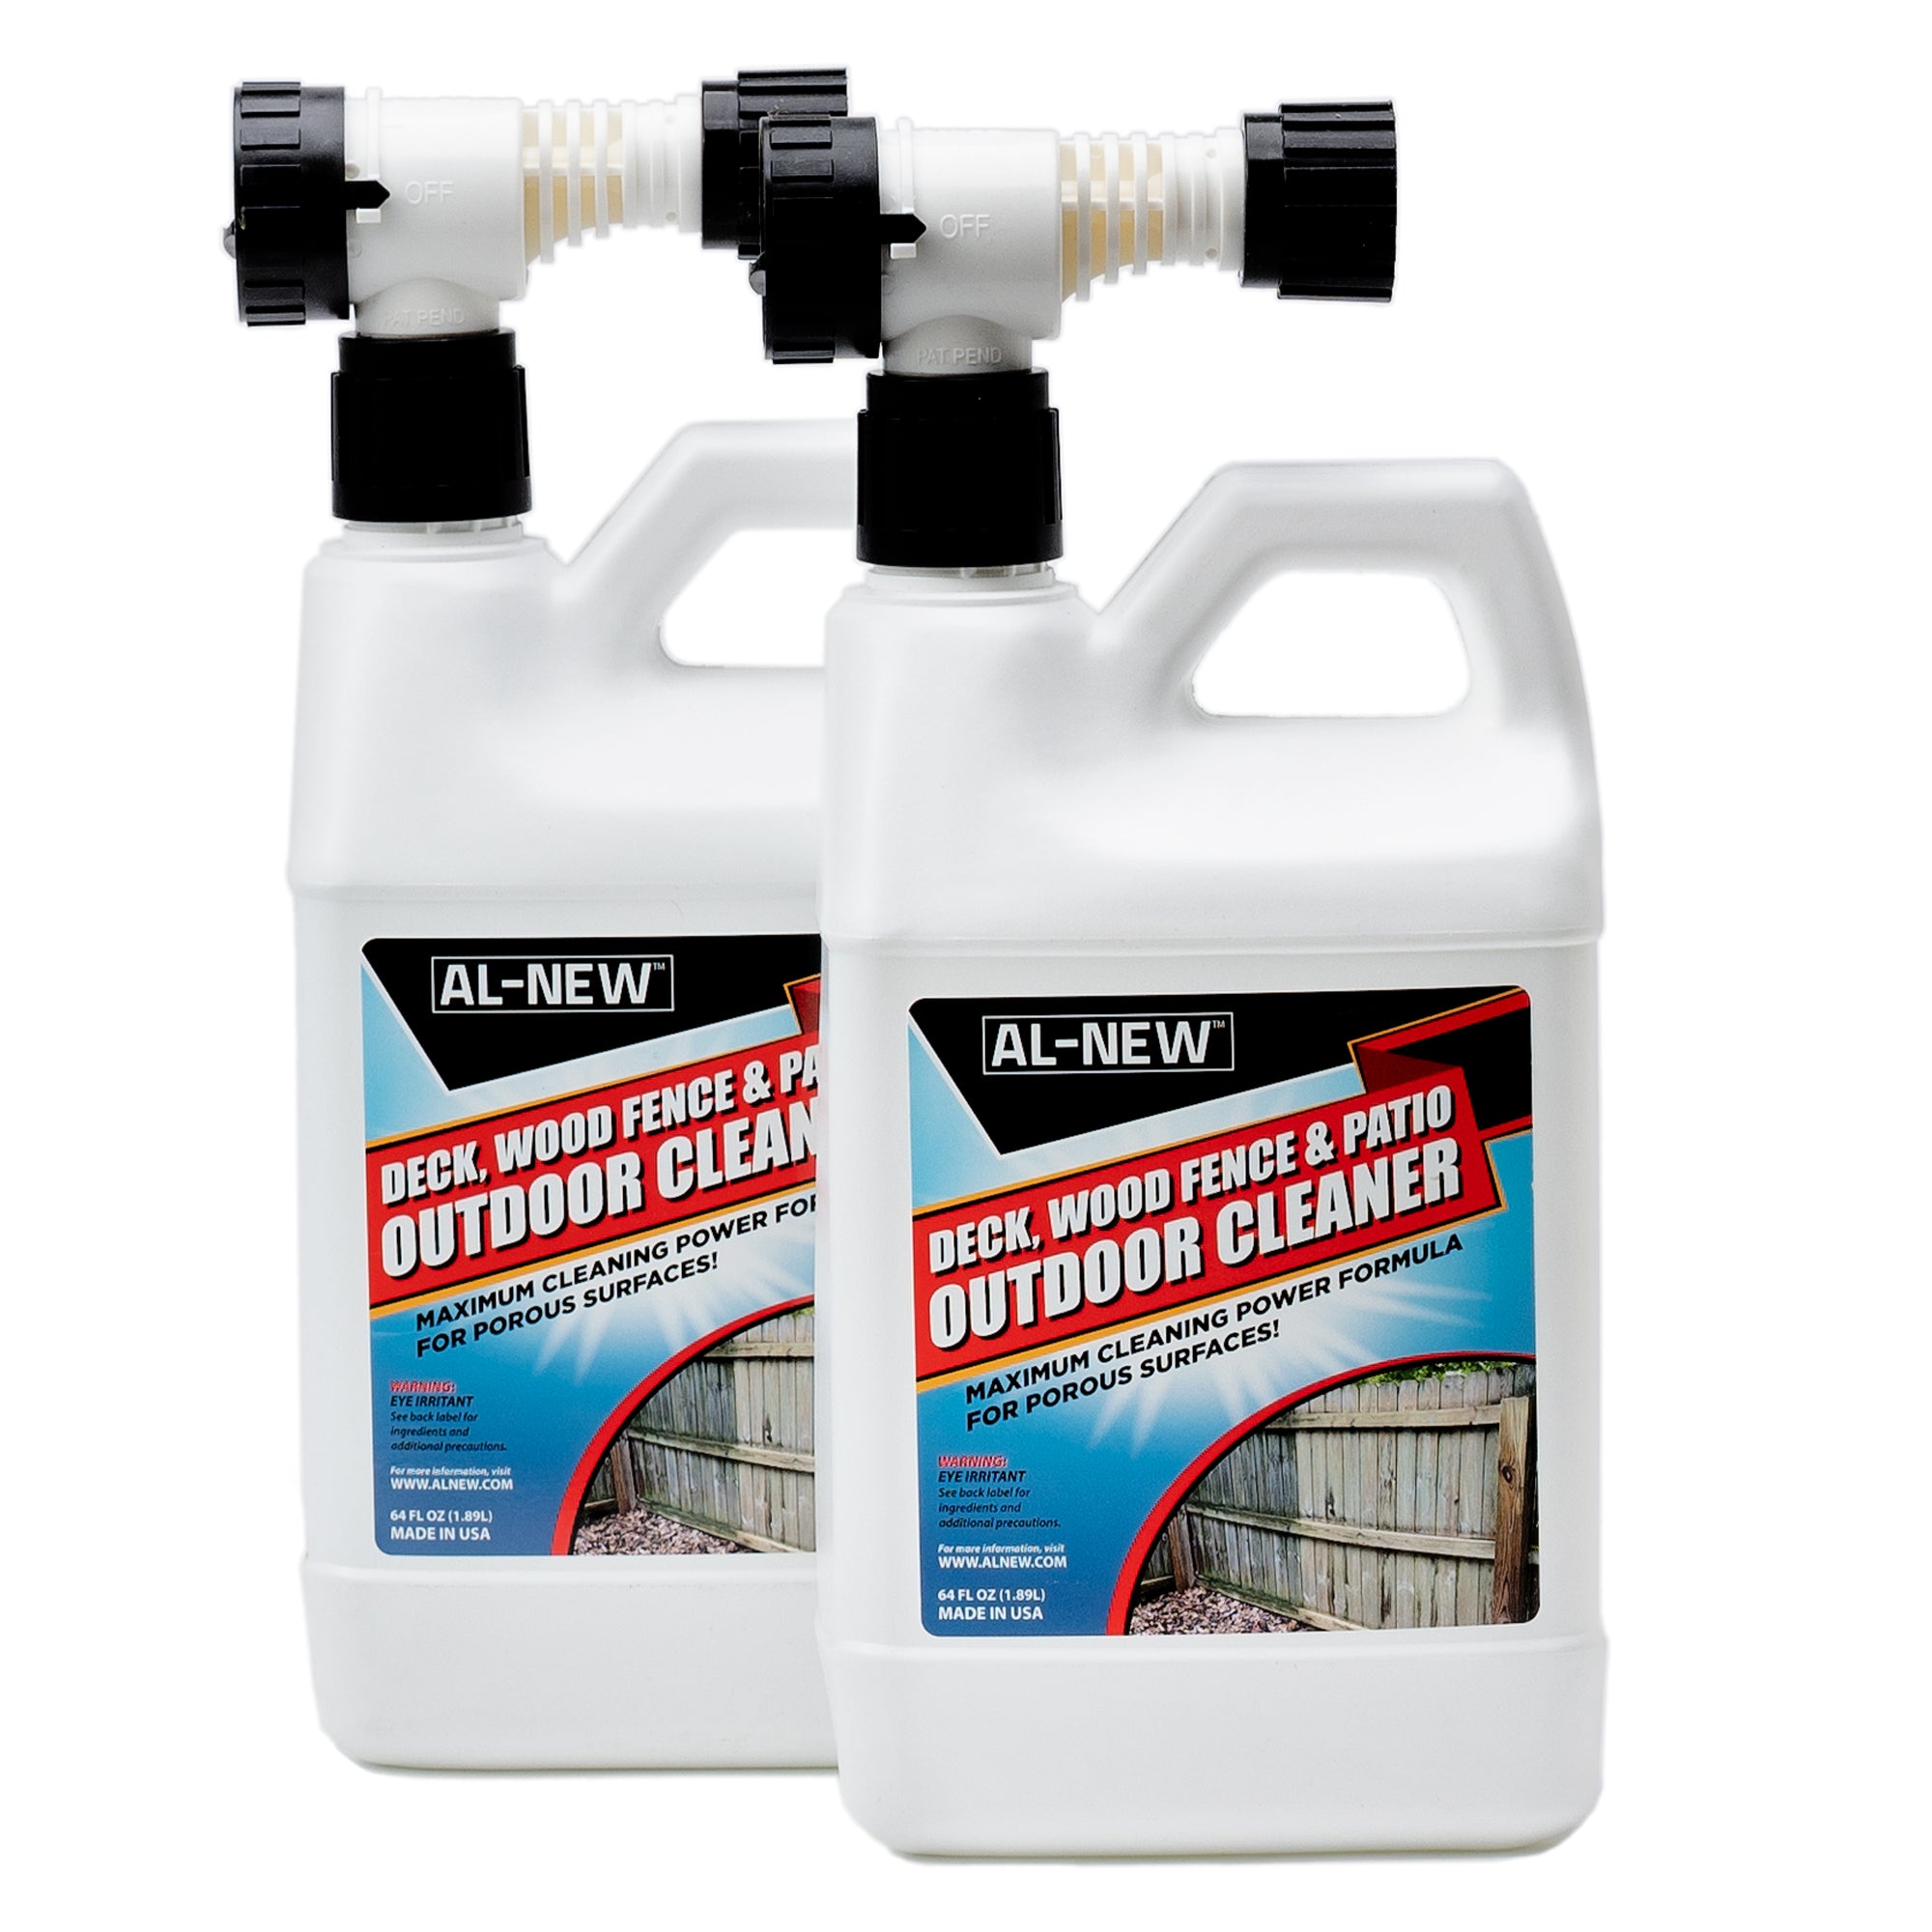
Attach hose to bottle with valve set to OFF. Then turn valve to RINSE and wet the surface to be cleaned.
Turn the valve to CLEAN and apply a full coat of cleaner**
**Maximum clean is achieved when stained porous surfaces are given a full coat of cleaner.AL-NEW DECK, WOOD FENCE & PATIO OUTDOOR CLEANER is formulated to maximize cleaning power. If your surface being cleaned has less staining and is nonporous, we advise usingAL-NEW HOUSE WASH & VINYL SIDING OUTDOOR CLEANER to maximize your square foot coverage.
Allow chemical to penetrate for 10 minutes, then lightly scrub any stains with a brush*
*A stiff bristle brush on threaded extension pole is recommended
Turn valve to RINSE and spray to reveal the cleaned surface. In some cases, heavier stains may require a second coat.
Store upright in a cool dry area, out of direct sunlight and heat with nozzle tightened and valve in OFF position. If transporting, keep bottle upright.
Refill only with AL-NEW DECK, WOOD FENCE & PATIO OUTDOOR CLEANER. Empty containers should be recycled or discarded in trash following local ordinances.
Do not allow product to enter or run off into storm drains, ditches, or surface waters.
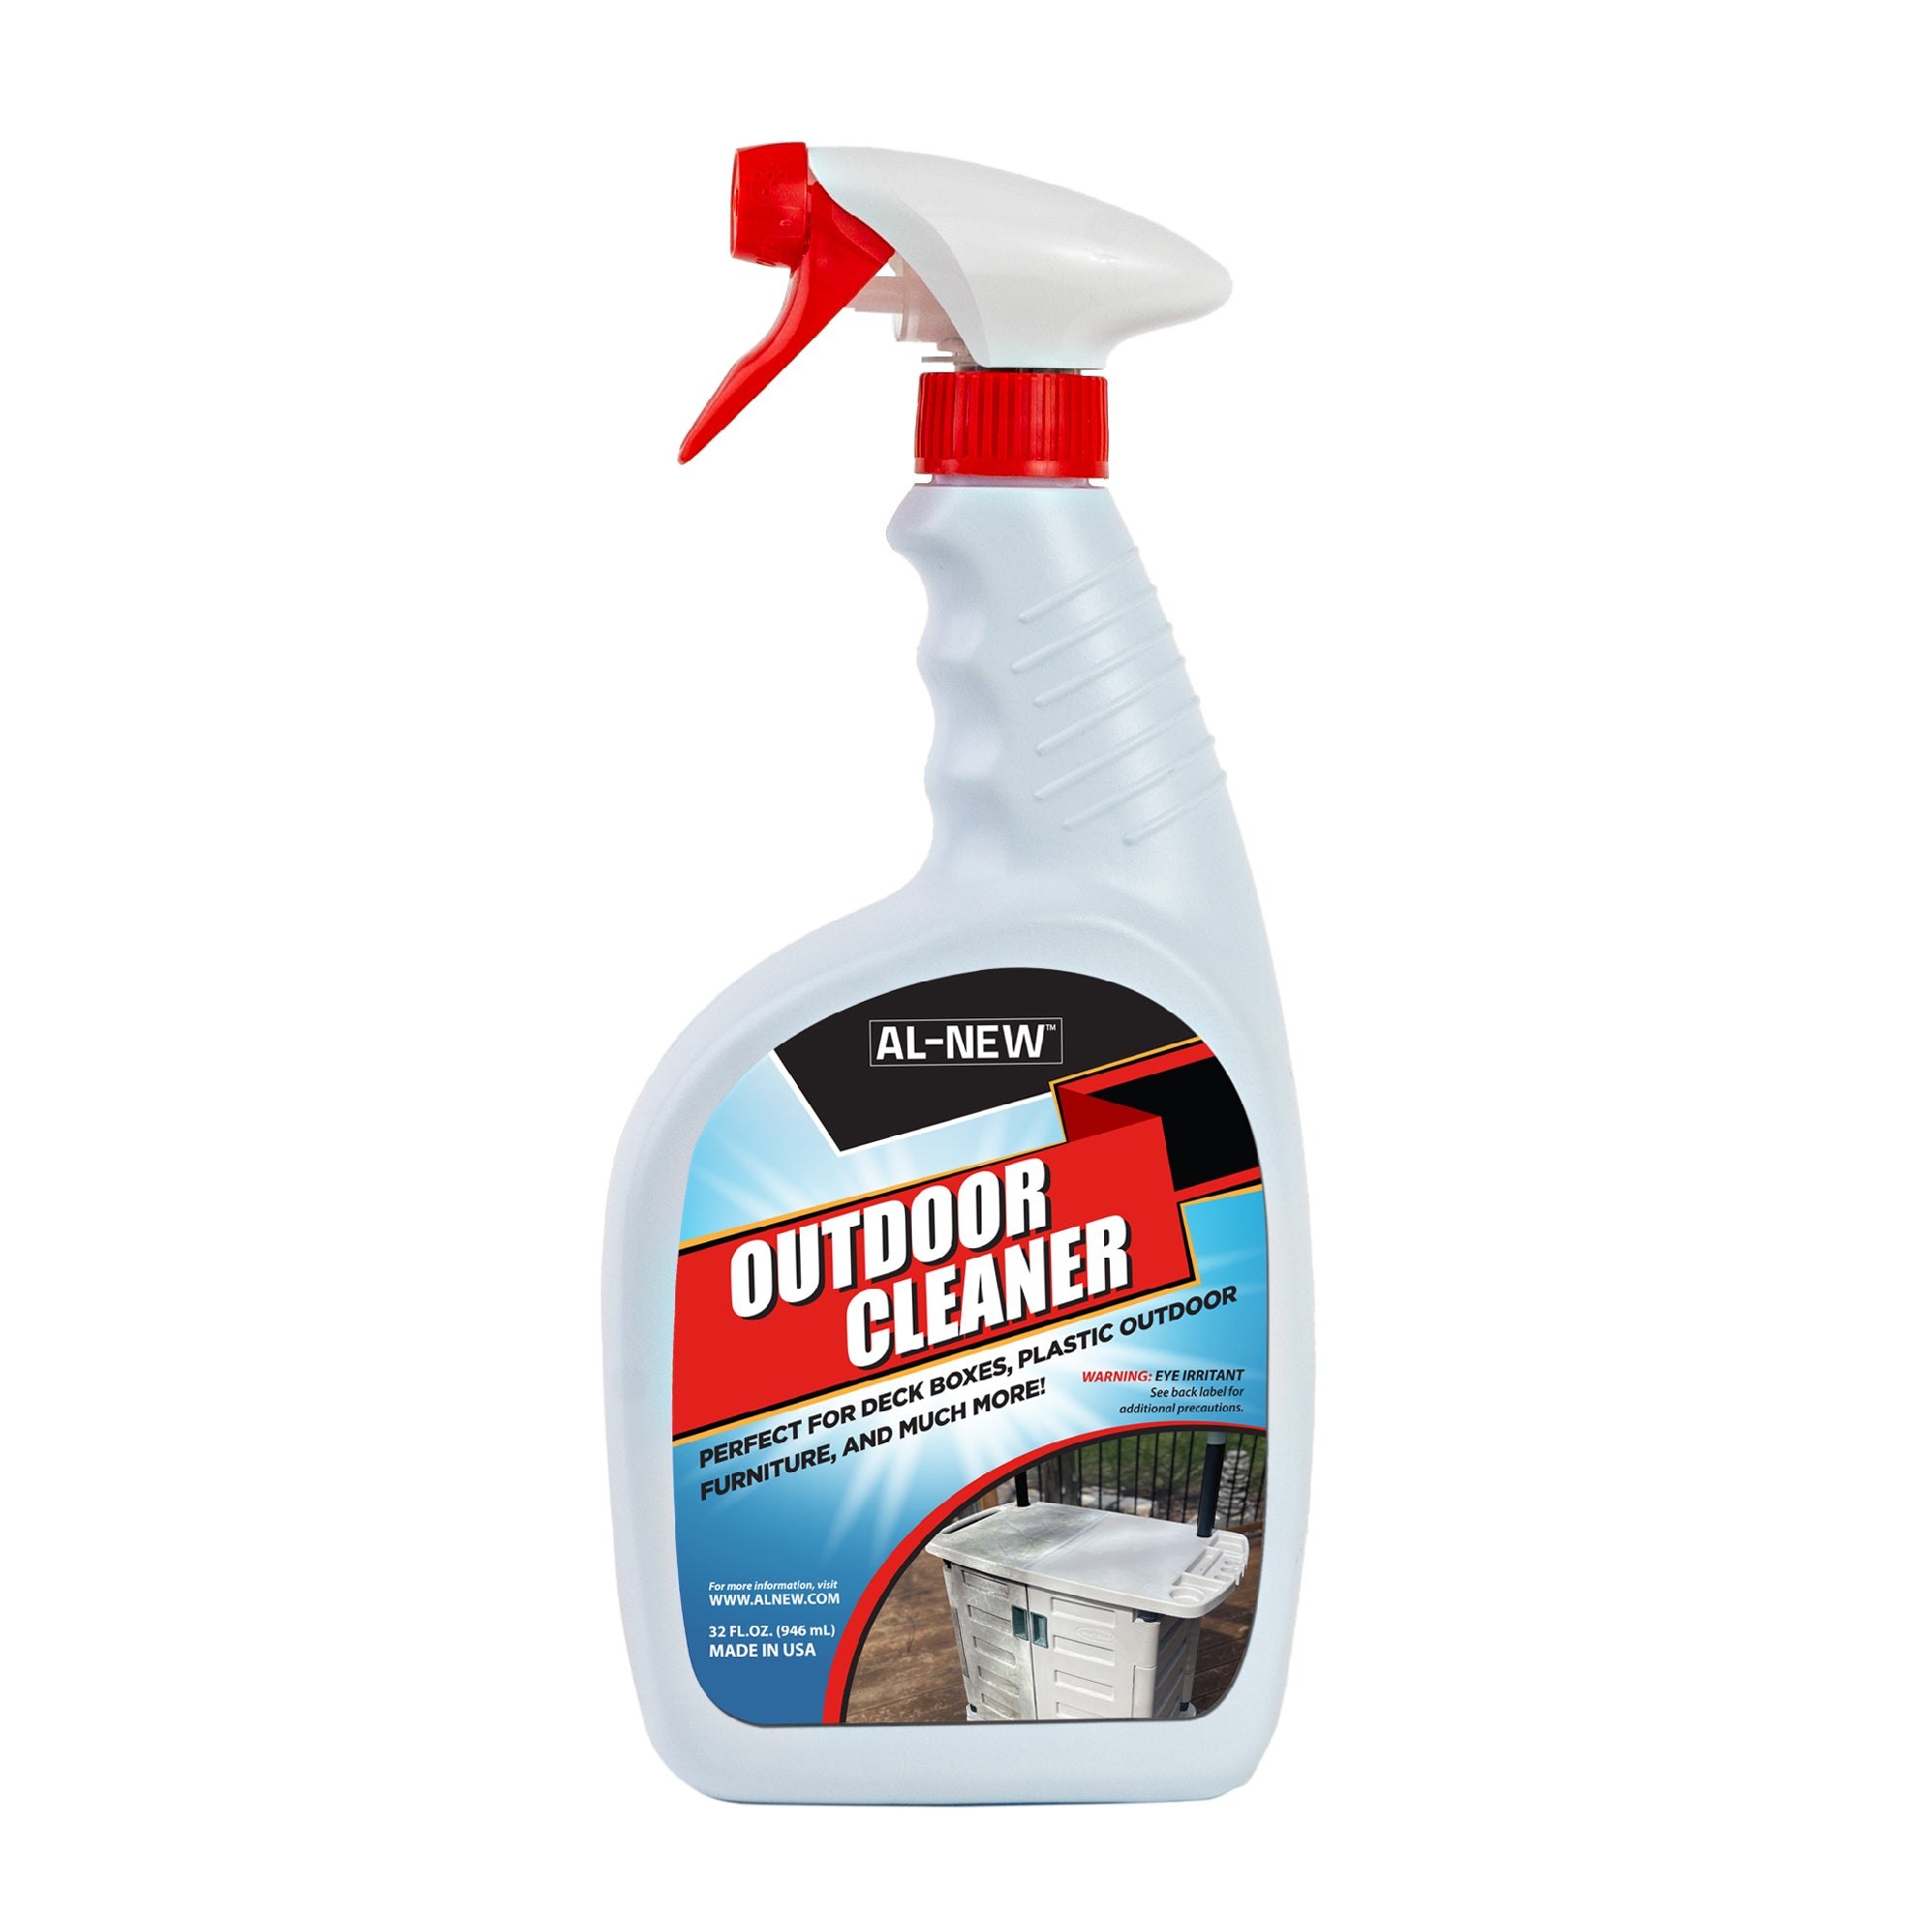
Attach hose to bottle with valve set to OFF. Then turn valve to RINSE and wet the surface to be cleaned.
Turn the valve to CLEAN and apply a light even coat of cleaner**
**Maximum coverage is achieved when the surface being cleaned has light staining, is nonporous, and a brisk application technique is used. Coverage will be reduced when surface has deeper stains, is porous, or a slower application process is used.
Allow the chemical to set for 10 minutes, then lightly scrub any stains with a brush*
*A soft bristle brush or microfiber scrubber on threaded extension pole is recommended.
Turn valve to RINSE and spray to reveal the cleaned surface. In some cases, heavier stains may require a second coat.
Store upright in a cool dry area, out of direct sunlight and heat with nozzle tightened and valve in OFF position. If transporting, keep bottle upright.
Refill only with AL-NEW HOUSE WASH & VINYL SIDING OUTDOOR CLEANER. Empty containers should be recycled or discarded in trash following local ordinances.
Do not allow product to enter or run off into storm drains, ditches, or surface waters.

Wet the surface to be cleaned with water and brush.
Apply* Cleaner to the soiled area. Work in small sections and do not allow Cleaner to dry.
*Always test for color fastness.
Apply the Cleaner and immediately scrub with a soft bristle brush. Apply enough pressure to clean the surface without causing damage.
Rinse the surface using the same method as in Step 1.
Dry time is subject to environmental conditions such as direct sun or shade, temperature, and humidity. For larger jobs if time allows, the ideal process is to complete all Step 1 cleaning before applying the Step 2 Enhanced Surface Sealer. Allowing the Step 1 to dry will help reveal any spots that were not fully cleaned, which you should revisit prior to applying the sealer. If time doesn’t allow for a complete air dry of the Step 1, a dry microfiber towel can be used to buff the surface dry to ready it for the Step 2 Enhanced Surface Sealer.
We use cookies on our website to give you the best shopping experience. By using this site, you agree to its use of cookies.


