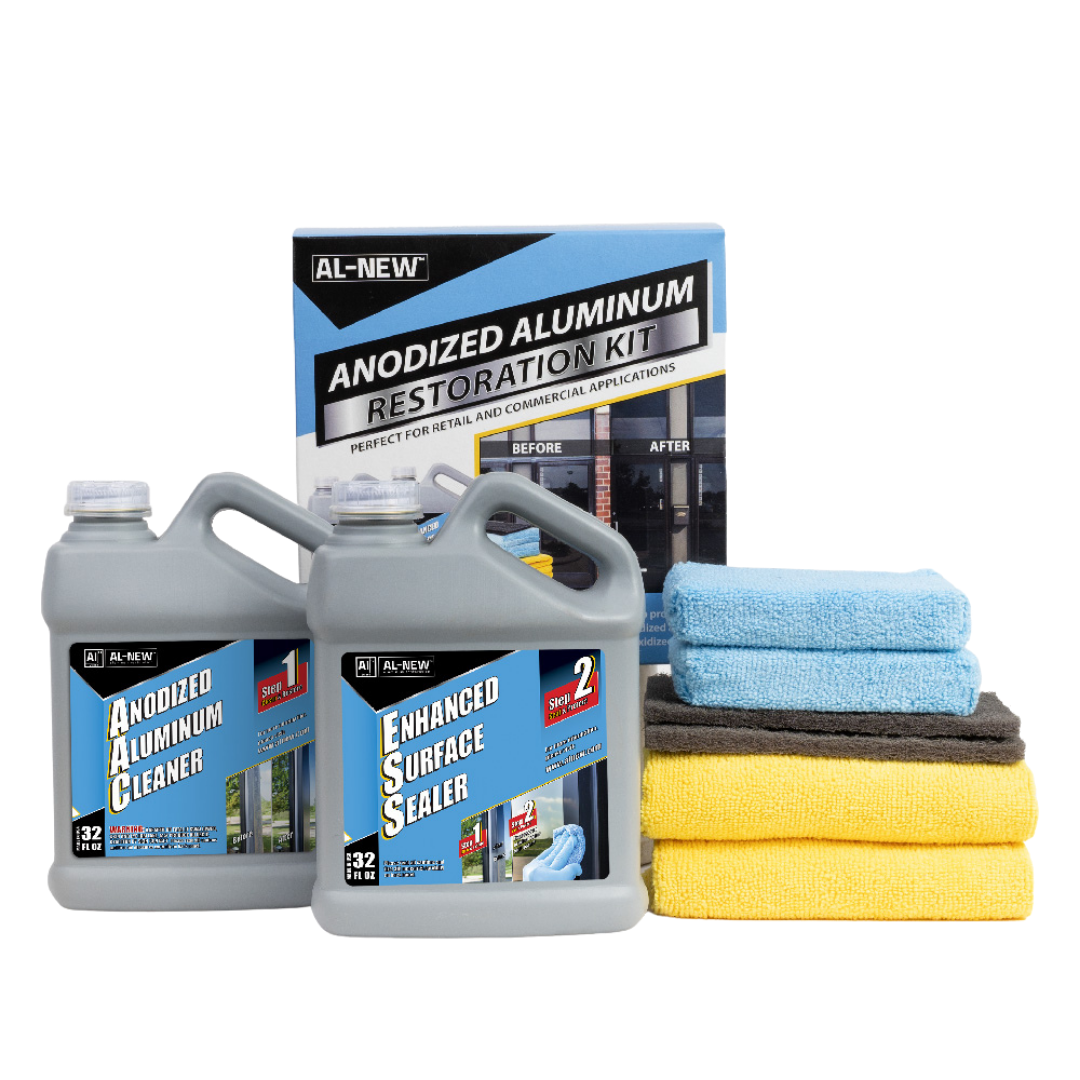
Why use the AL-NEW Anodized Aluminum Restoration kit?
Oxidation and general weathering of anodized aluminum detracts from the appearance of commercial properties. Use of the AL-NEW 2 Step Anodized Aluminum Restoration kit helps remove stains and restores the factory color to anodized aluminum through a specific cleaning system. Below are the instructions on how to use the components of your kit and the order in which to use them. Your kit includes
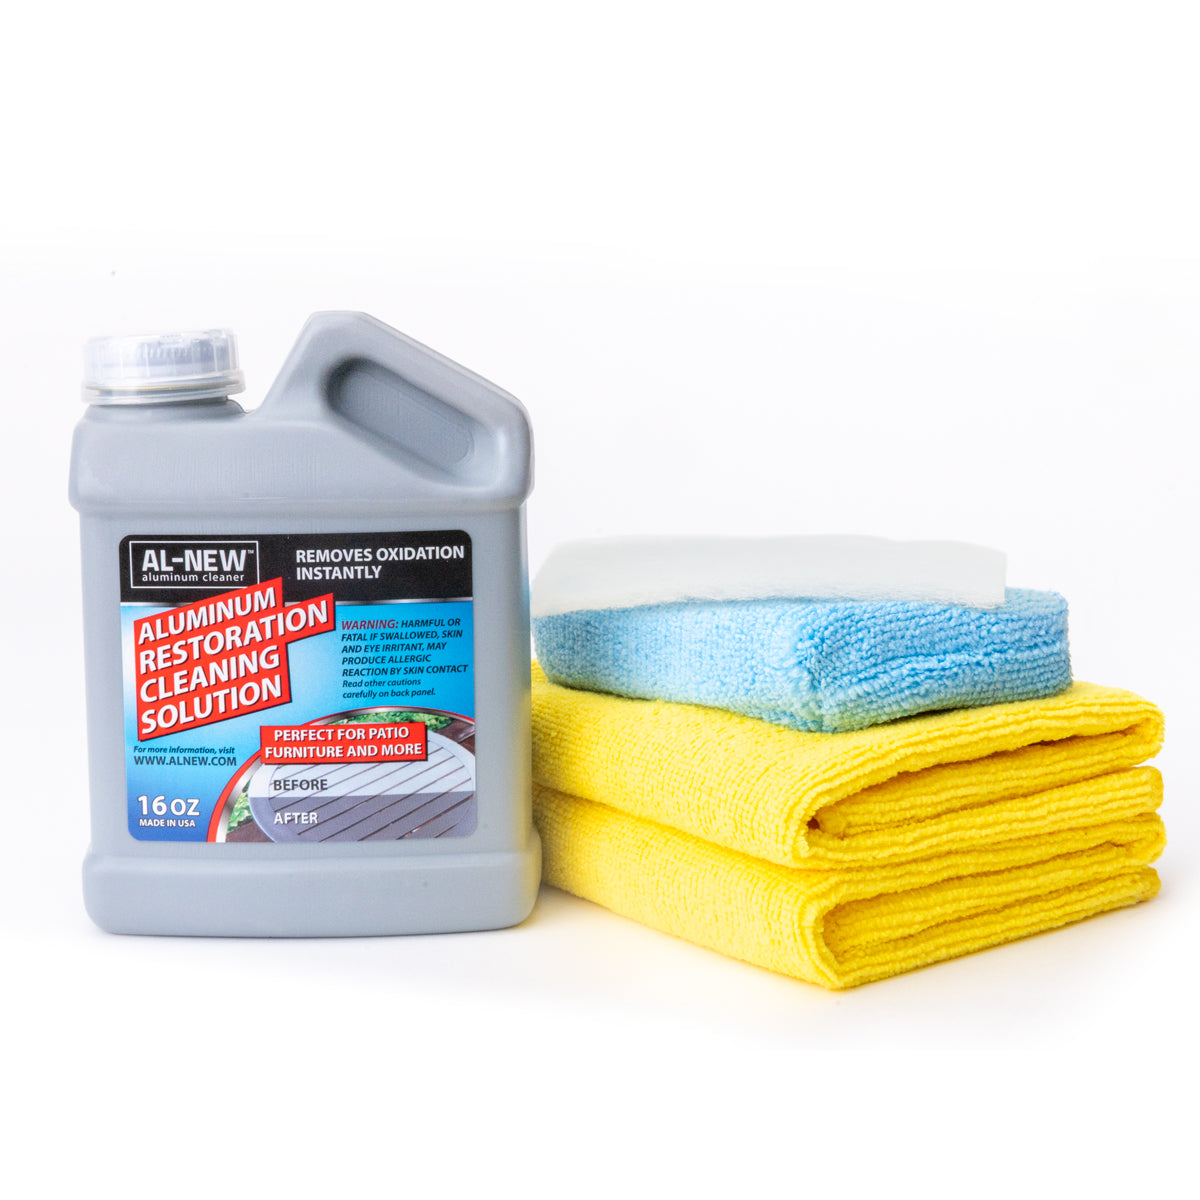
- (1) bottle – Step 1 Anodized Aluminum Cleaner
- (2) plush microfiber towel applicators for use with the Step 1 product
- (2) gray hand pads for stain removal used in combination with the Step 1 product
- (1) bottle – Step 2 Enhanced Surface Sealer
- (2) specialty microfiber sponges for application of the Step 2 product
Sequence for Cleaning:
Step 1 – Use Anodized Aluminum Cleaner and applicators to remove oxidation
- Microfiber towel preparation for use with Step1 Anodized Aluminum Cleaner
- Fold (1) of the 14” x 14” microfiber towels 3 times, creating an applicator 7” x 3.5” in size.
- Wet the folded towel by pouring a few ounces of the Anodized Aluminum cleaner in the center
- Squeeze the towel to distribute the liquid through the layers of the towel
- You now have an applicator ready to clean your anodized aluminum surface
- Wipe the anodized aluminum surface with the wet microfiber towel
- Wipe the surface with the wet towel (prepared using the instructions above)
- Apply moderate pressure as you wipe
- Instant improvement will indicate removal of surface level contamination
- Re-wet the towel frequently and rotate to clean sections of the towel when needed.
- For Embedded oxidation the gray hand pad will be used as the next step
- Critical Step: Use the gray hand pad to remove stains within the metal
- The gray hand pad removes stains below surface level embedded in the metal substrate
- Using the hand pad creates a deeper level of clean not achieved with the microfiber towel only
- Pads should only be used on a surface still wet with Step 1 Anodized Aluminum Cleaner.
- Test using the gray hand pad in a small area before using on the full job.
- DO NOT USE GRAY PADS ON A DRY SURFACE to avoid scratching the surface
- Care should also be taken near edges of window frames to avoid damage
- Dipping the gray pads in Step 1 Anodized Aluminum Cleaner is a great technique to increase lubricity and further minimize the risk of scratching the surface.
- Agitate the surface with the gray hand pad using light pressure, which will lift oxidation
- Follow with your wet microfiber towel to clean oxidation lifted by the hand pad
- Continue use of the gray hand pad until all visible white oxidation has been cleaned
- Allow the now clean surface to dry.
Dry time is subject to environmental conditions such as direct sun or shade, temperature, and humidity. For larger jobs if time allows, the ideal process is to complete all Step 1 cleaning before applying the Step 2 Enhanced Surface Sealer. Allowing the Step 1 to dry will help reveal any spots that were not fully cleaned, which you should revisit prior to applying the sealer. If time doesn’t allow for a complete air dry of the Step 1, a dry microfiber towel can be used to buff the surface dry to ready it for the Step 2 Enhanced Surface Sealer.
Step 2 – Use Enhanced Surface Sealer and sponge applicator to finish the job
The bulk of time invested using the 2 Step Anodized Aluminum Restoration process is in Step 1. Once the surface is fully cleaned, the Step 2 Enhanced Surface Sealer application is very simple and time efficient. Here are a few helpful tips to get the best outcome:
- Sponge should be damp, not saturated
- Wet sponge by pressing to open mouth of bottle and inverting the bottle a few times
- Squeeze sponge to wring out extra liquid
- Goal is to apply a thin coat of Enhanced Surface Sealer
- Use light pressure to apply
- Slightly overlap your passes to avoid lap marks
- On wider surfaces, swirling the sponge as you would wax a car helps avoid streaks
- If streaks do occur, the gray hand pad in combo with the Step 1 Anodized Aluminum Cleaner can be used to lightly sand out any imperfections
- In direct sun and temperatures above 70F, the Enhanced Surface Sealer will dry to touch within 30 minutes. Surface will continue to cure for multiple hours
- A single pass in most cases is all that is needed. A 2nd pass can be applied, layering on top of Pass 1, however care should be taken to avoid creating streaks from too much material on the frames. The anodizing process creates a hard metal surface with limited porousness, making it more of a challenge than other metals to achieve a streak free surface if too much liquid is applied.